
Water Tank Cleaning & Disinfection Procedures: A Step-by-Step Must-Know for Facility Managers
- July 7, 2025
- Water Tank Cleaning
Facility managers are responsible for ensuring that a building’s water storage system is not only operational but clean and compliant with local regulations. Over time, water tanks accumulate sediment, bacteria, algae, and other contaminants that affect water quality and are harmful to health.
A systematic and professional approach to cleaning and disinfecting water tanks ensures water safety, reduces infrastructure wear and tear, and ensures facilities are compliant with regulations. This article presents a step-by-step guide every facility manager should follow for effective water tank maintenance.
Why Water Tank Cleaning & Disinfection Matters
Before diving into the procedures, it’s essential to understand why this process is non-negotiable:
- Health and Safety: Prevents waterborne illnesses caused by bacteria such as Legionella, E. coli, and Salmonella.
- Regulatory Compliance: Meets the standards set by health authorities and local councils.
- System Efficiency: Prevents clogs and corrosion in water pipelines and equipment.
- Extended Lifespan: Reduces structural deterioration in water tanks due to sediment and biofilm formation.
Frequency of Tank Cleaning and Disinfection
Facility managers should develop a regular schedule based on:
- Tank size and usage
- Water source (e.g., municipal, borehole, rainwater)
- Building type (e.g., hospital, school, factory)
Typically, cleaning should be done every 6 to 12 months, though high-use or sensitive facilities (like hospitals) may require quarterly servicing.
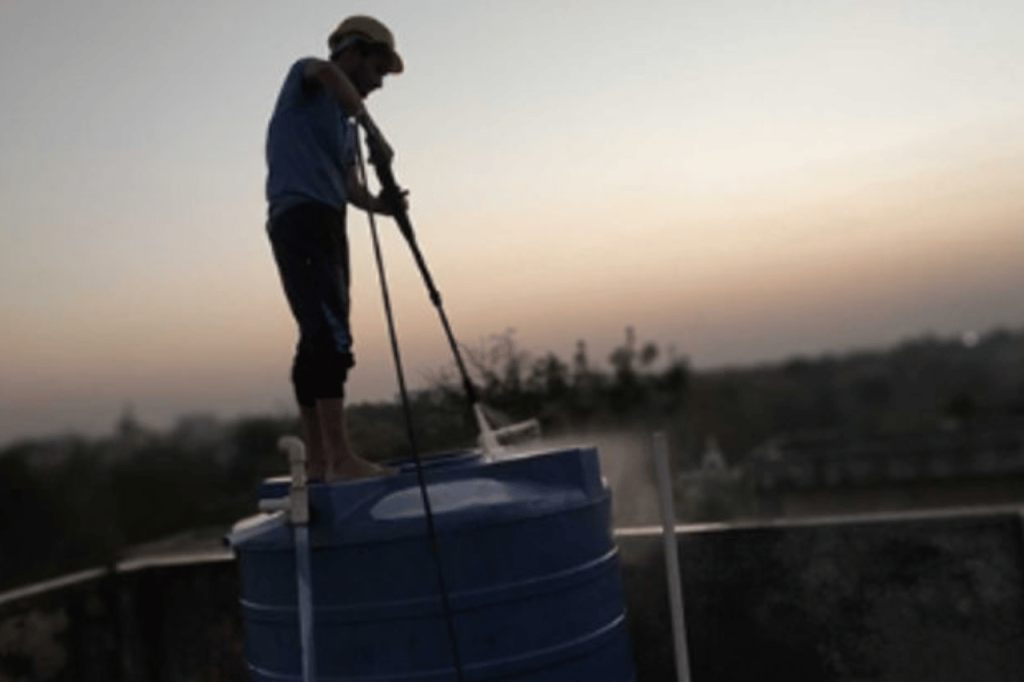
Step-by-Step Water Tank Cleaning and Disinfection Process
Step 1: Preparation and Safety Planning
Before starting any work, safety, and planning are paramount.
Tasks:
- Inform building occupants about water interruption and expected downtime.
- Shut off the water supply and power to pumps or related systems.
- Conduct a risk assessment and prepare method statements.
- Ensure proper PPE: gloves, boots, masks, and safety harnesses if working in confined spaces.
- Arrange for confined space entry permits if needed (depending on tank type and location).
Step 2: Drain the Tank
Emptying the tank allows for effective cleaning.
Tasks:
- Use the drain valve or a submersible pump to remove water.
- Dispose of water according to environmental regulations (especially for chemically treated tanks).
- Ensure no standing water remains inside the tank.
Step 3: Sludge and Debris Removal
The tank will probably contain a layer of debris and sludge after it has been drained.
Tasks:
- Physically remove sludge with scoops or vacuums.
- Scrub walls and floors with brushes or non-metallic scouring tools to dislodge stubborn dirt.
- Use wet-dry vacuums or suction systems to clean all residues.
Pro Tip: Avoid hard scraping tools that could damage tank linings or coatings.
Step 4: High-Pressure Washing
Use high-pressure water jets to thoroughly clean the internal surfaces.
Tasks:
- Spray tank walls and floor to remove remaining grime, biofilm, and algae.
- Focus on corners, joints, and valve areas where debris often accumulates.
- Ensure complete rinse-off of all loosened particles.
This step restores the tank to a visibly clean state but doesn’t yet disinfect it.
Step 5: Disinfection
After cleaning, the tank needs to be disinfected to kill harmful microorganisms.
Common disinfection methods:
a) Chlorination
- Fill the tank partially with clean water.
- Add sodium hypochlorite or chlorine solution to achieve a concentration of 50–200 ppm (parts per million).
- Ensure the interior surfaces are fully soaked in the solution.
- Let it stand for at least 1-2 hours.
b) Alternative Disinfectants
For facilities that can’t use chlorine due to sensitivity or material compatibility:
- Use hydrogen peroxide, chlorine dioxide, or silver-stabilized hydrogen peroxide as substitutes.
Important: Always follow the chemical manufacturer’s safety instructions.
Step 6: Rinse and Drain
After disinfection:
- Drain the disinfectant solution completely.
- Rinse the tank thoroughly with clean water to remove any residual chemicals.
- Test for chlorine residue—the water should be safe and neutral before refilling.
Step 7: Inspection and Minor Repairs
Before refilling, inspect the tank for damage.
Tasks:
- Check for leaks, cracks, rust, or damaged liners.
- Examine inlet and outlet valves, float switches, overflow pipes, and access hatches.
- Perform or schedule minor repairs as needed.
Recommendation: Document this inspection for record-keeping and compliance purposes.
Step 8: Refilling and System Restart
Once the tank is clean, disinfected, and inspected:
- Refill with clean water from a safe source.
- Turn on the water supply and check for proper flow and pressure.
- Flush the outlet pipes to remove stagnant or chlorinated water.
Step 9: Water Quality Testing
It’s a best practice to conduct water testing before reusing the supply.
Tests may include:
- Microbiological testing for bacteria (e.g., Total Coliform, Legionella)
- pH level and chlorine residual
- Turbidity and conductivity
Send samples to an accredited lab and keep reports as part of your facility maintenance log.
Post-Cleaning Documentation
Facility managers should maintain proper records for each maintenance cycle. This should include:
- Date of service
- Name of the service provider or internal maintenance team
- Cleaning method and disinfectant used
- Inspection checklist
- Water test results
- Notes on repairs or follow-up actions
Such documentation is vital for audits, insurance, and regulatory compliance.
Should You Hire a Professional Water Tank Cleaning Service?
While internal teams can perform basic cleaning, many facilities benefit from professional services, especially when:
- The tank is large or in a difficult-to-access location.
- There are no trained personnel for confined space entry.
- Regulatory compliance requires certified cleaners.
- You need advanced disinfection methods or lab testing.
Professionals bring:
- Specialized tools
- Industry expertise
- Safety compliance
- Time efficiency
- Inspection and certification services
Tips for Facility Managers
- Create a water tank maintenance schedule and stick to it.
- Label tanks and valves clearly for easier maintenance.
- Ensure access hatches are secure and locked to prevent contamination.
- Train staff on basic hygiene protocols related to water systems.
- Partner with reliable vendors for disinfection chemicals and professional cleaning services.
Conclusion
Water tank cleaning and disinfection isn’t just a hygiene task—it’s a critical operational responsibility. A contaminated or neglected tank can pose serious risks to occupant health, operational efficiency, and legal compliance.
As a facility manager, following a systematic, step-by-step approach ensures water safety, infrastructure integrity, and peace of mind for everyone in the building. Whether you perform the job in-house or hire experts, make sure the process is thorough, compliant, and well-documented.