How Professionals Perform Effective FRP Water Tank Repair — Step by Step
- October 10, 2025
- FRP Tank Leaking, Water Tank, Water Tank Repair, Service & Refurbishment
Fibreglass-reinforced plastic (FRP) — also called GRP — water tanks are lightweight, corrosion-resistant, and widely used for potable water, rainwater harvesting, and industrial storage. But like any asset, FRP tanks age, suffer impact damage, or develop leaks. Repairing them correctly restores structural integrity, prevents contamination, and extends service life. Below is the step-by-step process followed by professionals for reliable FRP water tank repairs, along with practical tips and common pitfalls to avoid.
Quick overview: when to repair vs replace
Repair is usually preferred when damage is localized (cracks, delamination, small holes, degraded gelcoat). Replace when damage is extensive, structural frames are compromised, or repair costs approach replacement costs. A professional inspection will advise the best course of action.
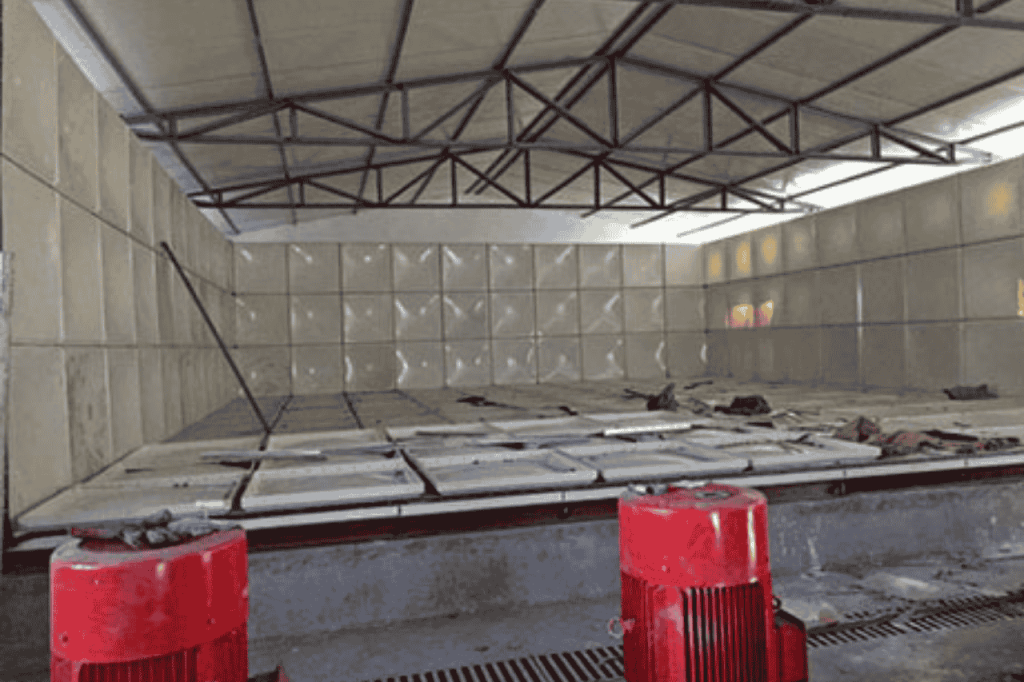
Step 1 — Thorough inspection & diagnosis
Good repairs start with careful diagnosis.
- Visual inspection (inside/outside) for cracks, blisters, soft spots, deformation, or UV degradation.
- Tap testing or sounding to find delamination.
- Check fittings, flanges, seams, and tank supports.
- Identify the damage cause (impact, UV, chemical attack, stress, poor original lamination).
Document findings with photos and measurements. Proper diagnosis determines the repair method and materials.
Step 2 — Plan the repair & source correct materials
A targeted repair plan keeps scope and costs under control.
- Choose materials compatible with the original laminate (polyester, vinyl ester, or epoxy systems).
- Select suitable reinforcement (chopped strand mat, stitched roving, woven roving) and topcoats/gelcoats designed for potable water, if applicable.
- Procure resin, catalyst/hardener, fairing fillers, patch kits, and PPE.
- Verify cure times, mix ratios, and storage/temperature limits according to the manufacturer’s instructions.
For potable water tanks, insist on food-grade or certified components and follow local authority guidance before returning the tank to service.
Step 3 — Safety & site preparation
FRP repair involves dust, fumes, and flammable resins—safety is non-negotiable.
- Ventilate enclosed tanks thoroughly; use forced ventilation if required.
- Use appropriate PPE: respirators rated for organic vapours, chemical-resistant gloves, eye protection, and coveralls.
- Isolate electrical ignition sources; have fire extinguishers ready.
- Contain and collect waste resins, solvents, and removed laminate for proper disposal.
- Erect barriers and signage if work is in a public area.
Step 4 — Drain, clean, and dry the tank
Begin with a clean, dry substrate.
- Drain the tank and pump out residual water.
- Remove loose debris, sediment, and biofilm using non-harsh mechanical cleaning (brush and low-pressure wash). Avoid high-pressure jets that can force water into delaminated areas.
- Use solvent wipes (acetone/isopropyl alcohol) where appropriate to remove oils, grease, and contaminants — only where manufacturer guidance allows and with appropriate ventilation.
- Allow the tank to dry completely; moisture in the laminate surface will compromise adhesion.
Step 5 — Remove failed laminate & prepare the surface
A sound, clean substrate is essential for strong repairs.
- Grind or mechanically abrade the damaged area back to solid laminate or until you reach sound material. Remove all loose or delaminated glass.
- Feather the edges of the repair zone to create a smooth transition for new layers.
- Sand surrounding areas to promote bonding; clean dust and sanding residue thoroughly.
- For corroded metal fittings or flanges, address the metalwork (clean, prime, or replace) before composite repair.
Step 6 — Structural lamination (the core repair)
Rebuild the laminate with the correct sequence and technique.
- Mix the resin and catalyst exactly as specified by the product data sheet — the wrong ratio will ruin the cure.
- Use progressive layers: start with a thin layer of resin (wetting layer), then lay down reinforcement (chopped mat or roving weave) saturated with resin using squeegees and rollers to remove trapped air.
- Apply successive layers until the original laminate thickness (or engineered repair thickness) is restored. Overlap past the damaged zone according to best practice (usually a few inches) to distribute the stress.
- For deep repairs, apply in multiple lifts, allowing partial cure between layers as recommended. Avoid trapping heat — each exotherm affects the cure and can cause distortion.
Tip: professionals often cut reinforcement pieces and perform dry layout before wetting to ensure smooth and precise placement.
Step 7 — Fairing, topcoat & gelcoat finish
Restore watertightness and surface protection.
- Once the laminate has cured sufficiently, apply fairing compound to remove low spots and create a smooth surface. Sand fairing smooth after cure.
- Apply an appropriate topcoat or gelcoat compatible with the laminate and intended service (UV protection for outdoor tanks; potable-approved finishes for drinking water). The gelcoat application technique (spray or brush) is important to the appearance and performance of the barrier.
- Allow full cure according to manufacturer’s recommendations, including any required post-curing at elevated temperatures that may be necessary.

Step 8 — Inspection & hydrostatic testing
Never return a repaired tank to service without testing first.
- Visually inspect repair integrity, edges, bond lines, and surface finish.
- Perform a hydrostatic test by partially or fully refilling the tank and monitoring for leaks over a specified hold time (commonly 24–72 hours depending on job scope).
- Record results and remedy any leaks immediately. Some professionals also use moisture meters or ultrasonic thickness gauges for verification.
If the tank stores potable water, perform water quality tests after filling and before handing it back for use. Follow your local water authority’s disinfection and sampling procedures.
Step 9 — Documentation & warranty
Good contractors provide full documentation.
- Provide before/after photos, material data sheets, batch numbers, and curing records.
- Outline maintenance recommendations and a warranty covering workmanship and materials.
- Schedule a follow-up inspection to verify performance over time.
Common mistakes to avoid
- Skipping thorough surface prep — the most frequent cause of failed repairs.
- Using incompatible resin systems (causes cracking, poor adhesion).
- Incorrect resin mixing ratios or hasty application lead to incomplete curing.
- Neglecting ventilation and PPE — safety and health risks.
- Returning potable tanks to service without proper disinfection and testing.
Preventive maintenance tips
- Inspect tanks at least annually and after major weather events.
- Keep tanks shaded or coated to reduce UV damage.
- To avoid localized wear, clean and remove sediment regularly.
- Maintain fittings, gaskets, and supports to limit stress on laminate joints.
Conclusion
Effective FRP water tank repair combines careful diagnosis, proper material selection, disciplined surface preparation, and meticulous lamination and finishing. Professionals follow a methodical sequence—inspection, prep, structural lamination, finishing, and testing—to restore integrity and ensure long service life. For potable water tanks or complex structural damage, always engage experienced technicians and insist on certified, potable-grade materials and documented testing before putting tanks back into service.